Troubleshooting
Why Is My Refrigerator Not Cooling? 8 Causes & What to Do
March 13, 2026
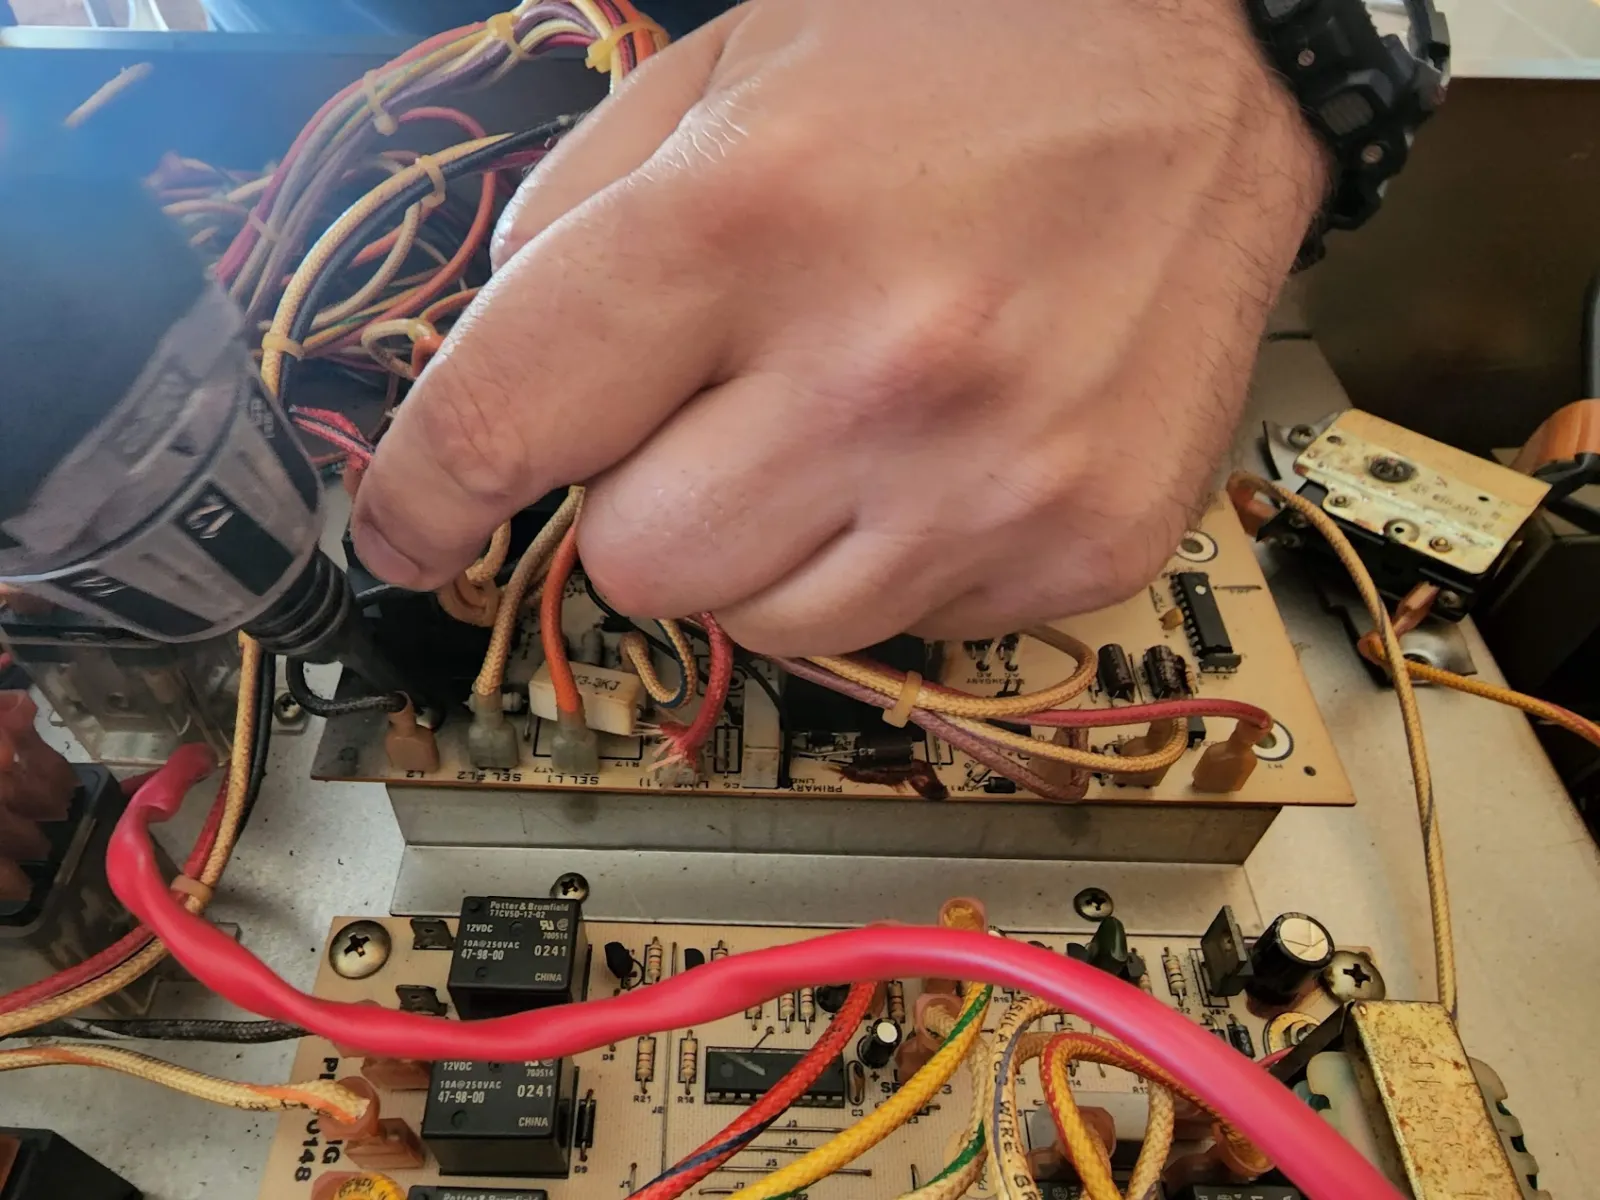
A refrigerator that stops cooling is one of those appliance problems that feels urgent — because it is. Food safety is on the line, and the clock starts ticking the moment the compressor stops keeping up. The good news: most refrigerators that stop cooling have a diagnosable, fixable cause. The bad news: there are eight of them, and they range from a $10 part you can swap yourself to a sealed-system refrigerant repair that requires a licensed tech.
Here’s how to work through them systematically.
1. Dirty Condenser Coils
Symptom: Fridge gradually gets warmer over days or weeks. Compressor runs almost constantly. Unit feels warm on the outside.
This is the single most common cause of refrigerators losing cooling performance over time, and it’s the easiest to prevent. The condenser coils (usually on the bottom or back of the unit) dissipate heat from the refrigerant. When they’re coated in dust and pet hair, they can’t shed heat efficiently. The compressor works harder, temps drift upward, and eventually the unit can’t maintain temperature even on its coldest setting.
Check: Pull the kick plate from the bottom front of the fridge. If you see a thick mat of dust and lint on the coils, that’s your problem.
DIY fix: Yes. A condenser coil brush ($10 at any hardware store) and a vacuum with a crevice attachment. Clean them, wait 24 hours, and check temperatures.
When to call: If the coils were clean and cooling still hasn’t improved after 24 hours.
In Los Angeles, this is especially common — year-round warmth means the compressor already works harder than in cooler climates. Homes with pets or dusty environments can clog coils in 6–8 months.
2. Evaporator Fan Motor Failed
Symptom: Freezer seems fine (or only slightly warm), but the refrigerator section is noticeably warmer. You may hear no fan noise when you open the freezer door.
The evaporator fan sits in the freezer compartment and pushes cold air from the evaporator coils into both the freezer and the fresh food section. If this fan fails, the refrigerator compartment warms up significantly while the freezer may stay cooler for a while (since it’s directly adjacent to the evaporator).
Check: Open the freezer door and press the door switch manually (the button that the door presses when closed). You should hear the fan running. If it’s silent, the motor has likely failed.
DIY fix: Possible but moderate difficulty. You’ll need to locate the fan housing in the freezer, remove the back panel, and swap the motor. Compatible motors are available for most brands.
When to call: If you’re not comfortable with appliance disassembly, or if the fan is running but cooling is still poor (the problem is elsewhere).
3. Defrost System Failure
Symptom: Fridge gradually warms over 24–72 hours, then gets cold again briefly, then warms again. Or: consistently warm fridge, ice buildup visible on the back wall of the freezer compartment.
This is probably the most common refrigerator repair we do. Modern frost-free refrigerators run a defrost cycle every 8–24 hours to melt frost off the evaporator coils. When the defrost heater, defrost thermostat, or adaptive defrost control fails, frost accumulates on the evaporator until it’s completely encased in ice. No airflow gets through, and both compartments warm up.
Check: Remove everything from the freezer and look at the back wall. If you see a solid sheet of frost or ice covering the back panel, the defrost system has failed.
DIY diagnosis: A manual defrost can confirm this temporarily — unplug the unit for 24–48 hours with the doors open (with towels down). If it cools normally afterward and then gradually fails again over days, the defrost system is the cause.
When to call: To actually fix it, you need to test the heater, thermostat, and control board. This is a common repair that a tech can diagnose and fix in a single visit.
4. Door Gasket Failure
Symptom: Compressor runs frequently. Fridge is slightly warmer than normal. Condensation or frost forms around the door edges. The door area feels slightly warm to the touch.
A worn or damaged door gasket allows warm room air to continuously leak into the refrigerator cabinet. The compressor runs overtime trying to maintain temperature and eventually can’t keep up. On units in coastal areas like Santa Monica or Malibu, humidity accelerates gasket deterioration significantly.
Check: Close the door on a dollar bill. Pull the bill out — you should feel real resistance. If it slides out easily anywhere around the perimeter, the gasket isn’t sealing there. Also look for visible cracks, tears, or sections where the gasket has pulled away from the door.
DIY fix: Replacement gaskets are available for most models and installation is DIY-friendly. The gasket presses into a channel and usually doesn’t require tools. Make sure you get the correct part number for your model.
When to call: If the gasket looks fine but the dollar bill test still shows poor sealing — the door may be warped or misaligned, which is a different issue.
5. Condenser Fan Motor Failed
Symptom: Compressor runs but the fridge isn’t cooling. The back of the unit feels extremely hot.
Many refrigerators have a second fan at the condenser (not the evaporator fan) that draws air over the condenser coils and compressor. When this fan fails, the condenser can’t dissipate heat, the compressor overheats, and cooling stops.
Check: On refrigerators with the condenser at the bottom or back, there should be a fan visible near the compressor. With the unit plugged in and running, you should see it spinning.
DIY fix: Moderate difficulty. The fan motor is accessible from the back of most units and can be replaced without specialized tools.
When to call: If you’re not finding the fan, or if the fan is running but the compressor is still overheating.
6. Start Relay Failure
Symptom: You hear a click from the compressor area every few minutes, but the compressor never actually starts running. Or: the compressor doesn’t run at all.
The start relay is a small component that helps the compressor motor start. When it fails, the compressor tries to start, can’t, and shuts down on its overload protector. You hear the click of the overload tripping. This cycle repeats endlessly.
Check: With the fridge unplugged, locate the start relay — it’s a small rectangular or cylindrical component plugged into the side of the compressor. Remove it and shake it. If you hear rattling, the relay is bad.
DIY fix: Yes, and this is one of the cheapest refrigerator fixes — start relays for most brands cost $10–$40. Make sure you get the correct part for your model.
When to call: If the relay tests fine but the compressor still won’t start. The overload protector or the compressor itself may be the issue.
7. Temperature Control Thermostat or Thermistor Failure
Symptom: Fridge runs too warm consistently, or runs too cold and freezes food. The compressor may cycle on and off abnormally.
The temperature control thermostat (mechanical) or thermistor (electronic, on newer units) monitors cabinet temperature and signals the compressor to run when cooling is needed. A failed thermostat may signal the compressor to stop running before the temperature is actually reached, or may not signal it to run at all.
Check: On mechanical thermostat models, try turning the dial to a colder setting. If the compressor immediately starts, the thermostat may just need adjustment. If the fridge is consistently 10°F+ warmer than the dial setting, the thermostat has drifted.
DIY fix: Thermostat replacement is DIY-possible on most models. Thermistor replacement requires verifying the correct resistance readings with a multimeter.
When to call: On electronic control boards, a thermistor failure may throw a diagnostic code. A tech with the right tools can read these codes and verify the specific failure.
8. Refrigerant Leak or Compressor Failure
Symptom: The fridge is completely warm, the compressor either doesn’t run or runs continuously without cooling, and none of the above components are the problem.
These are the expensive repairs. A refrigerant leak means the sealed system has lost its charge — the refrigerant that carries heat out of the cabinet is gone. The compressor runs, but there’s nothing to pump. A compressor failure means the compressor motor itself has failed.
Check: At this point, diagnosis requires a technician with refrigerant leak detection equipment and a set of manifold gauges.
DIY fix: No. Sealed-system work requires EPA 608 certification to handle refrigerants.
When to call: When everything else has been ruled out, or if the compressor draws high amperage (detectable with a clamp meter) and shuts off on its overload.
Cost context: Refrigerant leak repair and compressor replacement are the most expensive refrigerator repairs, typically $600–$1,200 depending on the brand and refrigerant type. For a premium unit like a Sub-Zero or Viking, these repairs almost always make financial sense. For a basic unit older than 12 years, replacement may be more economical.
Have a Sub-Zero specifically? Its dual-compressor design fails differently than a standard single-compressor fridge — see our Sub-Zero not cooling guide for how to narrow down which side is affected before calling.
When to Stop Troubleshooting and Call
Call a tech when:
- The compressor won’t start despite a good start relay
- The unit was working fine and stopped cooling overnight (suggests compressor or sealed system)
- You’ve verified the condenser coils are clean, the evaporator fan is running, and the door seals are intact — but cooling is still poor
- There’s ice buildup on the evaporator and manual defrost temporarily fixed it (defrost system repair needed)
- The unit makes a hissing sound (possible refrigerant leak)
We offer same-day refrigerator repair in Los Angeles and surrounding areas. The $85 diagnostic fee is waived when you approve the repair. Call us at (323) 806-3039 and we’ll get a tech out to diagnose it properly.